Your business' IT resources help keep the day-to-day running smoothly. Whether it's with sales calls, marketing, or development, IT assets are crucial for most modern business processes.
This is why an IT asset management system is essential, as you need to know where your IT assets are and that they're running smoothly at any given moment. This means that you may need to implement an IT asset register.
What is an IT Asset Register?
An IT asset register is a resource where you can log all of your IT assets, from your laptops to phones, to USB sticks. Anything with IT capabilities can be logged, managed, and tracked on your IT asset register.
So, whether you're looking at hardware asset management, software asset management, or more general asset tracking, an IT asset register will be involved.
Why Do I Need One?
A register of all your resources is essential, as this is where you can log, track, and manage all of your data. Whether this is where assets are, financial information such as warranty dates and insurance information, or other data, such as compliance data, an IT asset register will help.
The main way an IT asset register and IT asset management help is by simplifying processes and making them more visible to you and your team. Instead of having to sift through tabs to look at different spreadsheets showing different things, you have all the data in one place against a specific asset.
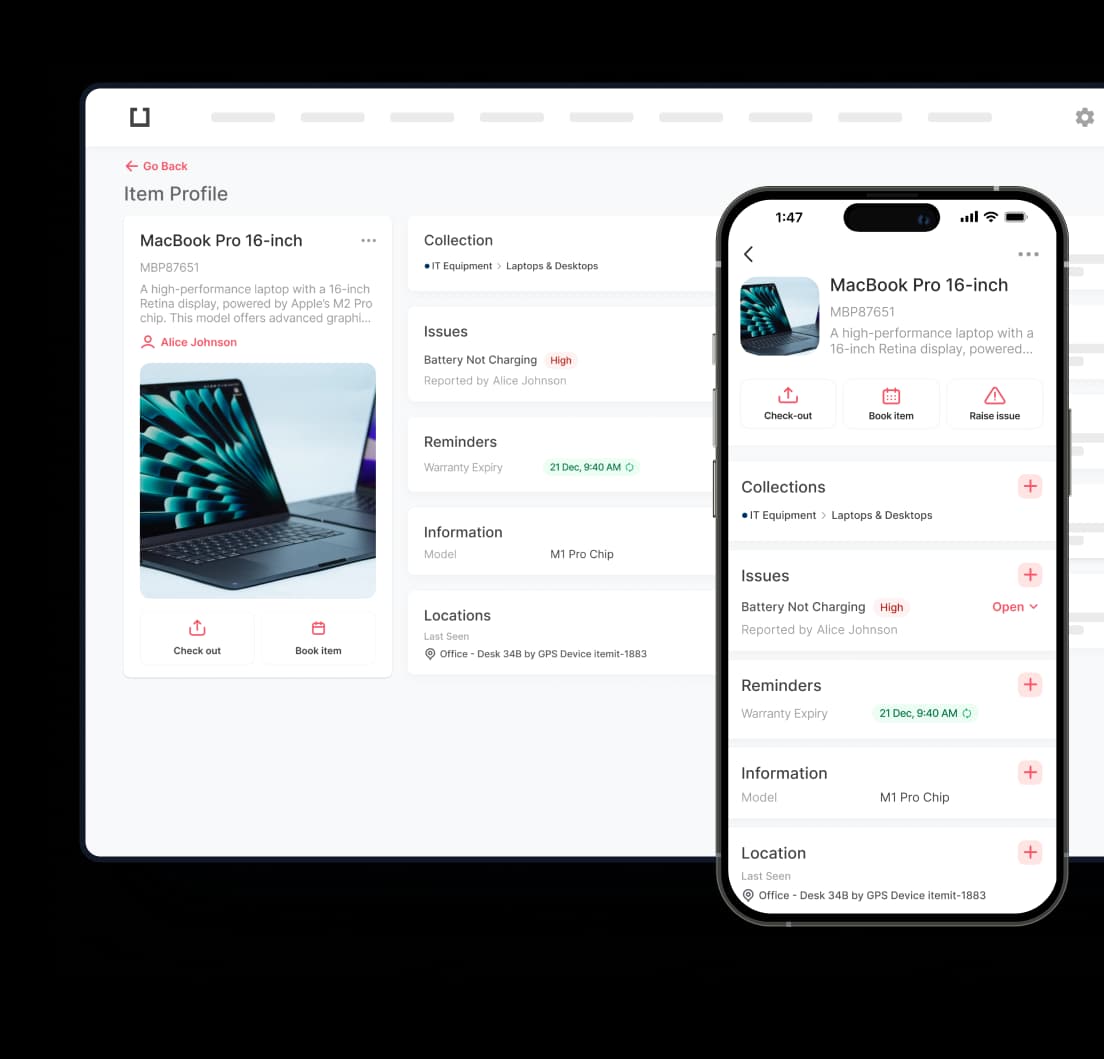
What this means is you can see data, such as maintenance history, warranty end dates, and helpful location data, against an asset itself, rather than on a row in a spreadsheet. All it takes is the scan of an asset tag attached to an asset, and you'll be able to view and update this data in an instant.
Step By Step to Creating an IT Asset Register
Creating an IT asset register and improving your IT asset management processes are simple. They are as follows:
1. Tag and Log your Assets
First, you'll want to log your assets into your IT asset register. You can do this before you start tagging them or as you go. Either way, you'll get a neat audit trail as you start tagging.
To link the IT assets to their tag, all you need to do is use your asset management app and scan the QR code or barcode.
2. Assign your Assets
Next, you'll want to assign the assets to your colleagues. When it comes to IT assets, it's most likely they'll have a permanent user. Whether this is a phone or a laptop, you'll want the additional accountability of knowing who is in charge of what.
This is helpful for onboarding, too, as it can show you what you own and where any gaps are that need filling.

3. Make the Most out of the Best IT Asset Management Features
The last step is to start tracking your IT assets while making the most out of your IT asset management software's features.
For example, if an asset is shared, if it's a testing device or a USB, you'll be able to book that piece of equipment in advance, and use equipment check in check out functionality.
Location tracking is helpful for an audit trail, especially if your staff are working remotely. Knowing that the correct assets are in the correct place goes a long way towards saving time and avoiding losses.
Finally, issues management functionality will help you rectify any problems with IT assets speedily and with ease. A user only needs to scan the QR code or barcode and report the issue, ready for your requisition or maintenance team to rectify.
To find out more about the many features itemit's IT asset management software has, and why you need an IT asset register, you can contact us here or fill in the form below.


