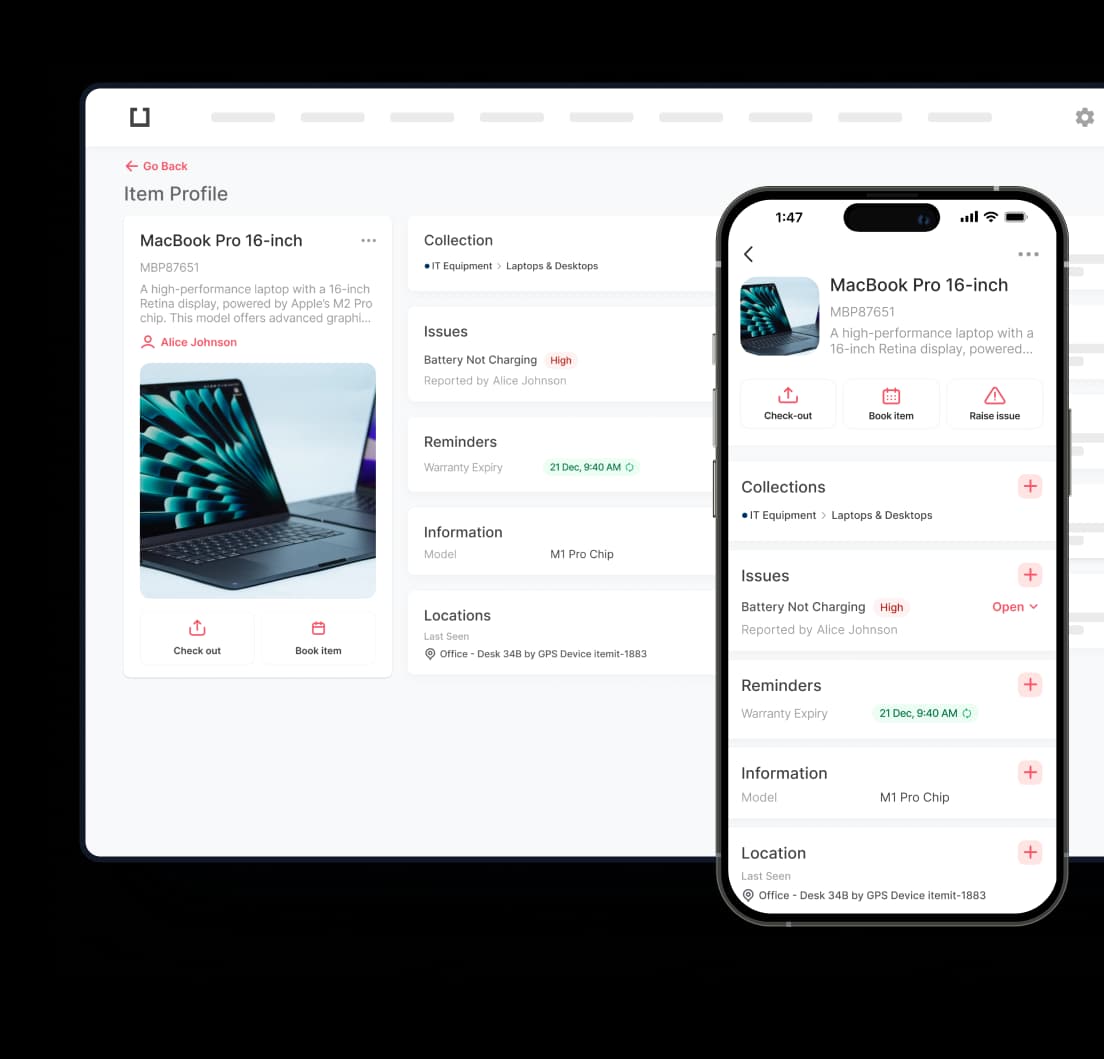
Did you know you can use itemit to add financial information to all of your assets?
You can use this with our other tutorial on how to create an asset register. If your business uses a fixed asset register, you can use this tutorial to find out how to add financial information such as warranties and receipts.
With itemit, it's a lot simpler than using a spreadsheet to keep track of your finances.
1. Open the app and click on the "add asset" symbol.

2. Add the asset.


Method One: Reminders
3. Click on "Reminders".

4. Add information such as the end of a warranty. Press "Save"

Method Two: Information
5. Click on "Information".

Click "text".

6. Add the relevant info.

And/Or
7. click on "Date"

8. Add the relevant info.

And/Or
9. click on "currency"

10. Add the relevant info.

And/Or
11. click on "weblink"
Note You can add anything about the purchase under "information", for example the telephone number of the vendor, etc.

12. Add the relevant info.

Method Three: Attachments
13. Click on the plus above "attachments".

15. Here you can add pictures of receipts, warranties, anything.


